Posted on |
Let’s start creating a simple Alexa Skills with the famous “Hello World” using HTTPS endpoint. To start off, we need the following accounts:
I will not write much details about this “Hello World”, ill be creating a separate blog for it to make it easy to run up a simple Hello World Alexa Skills App.
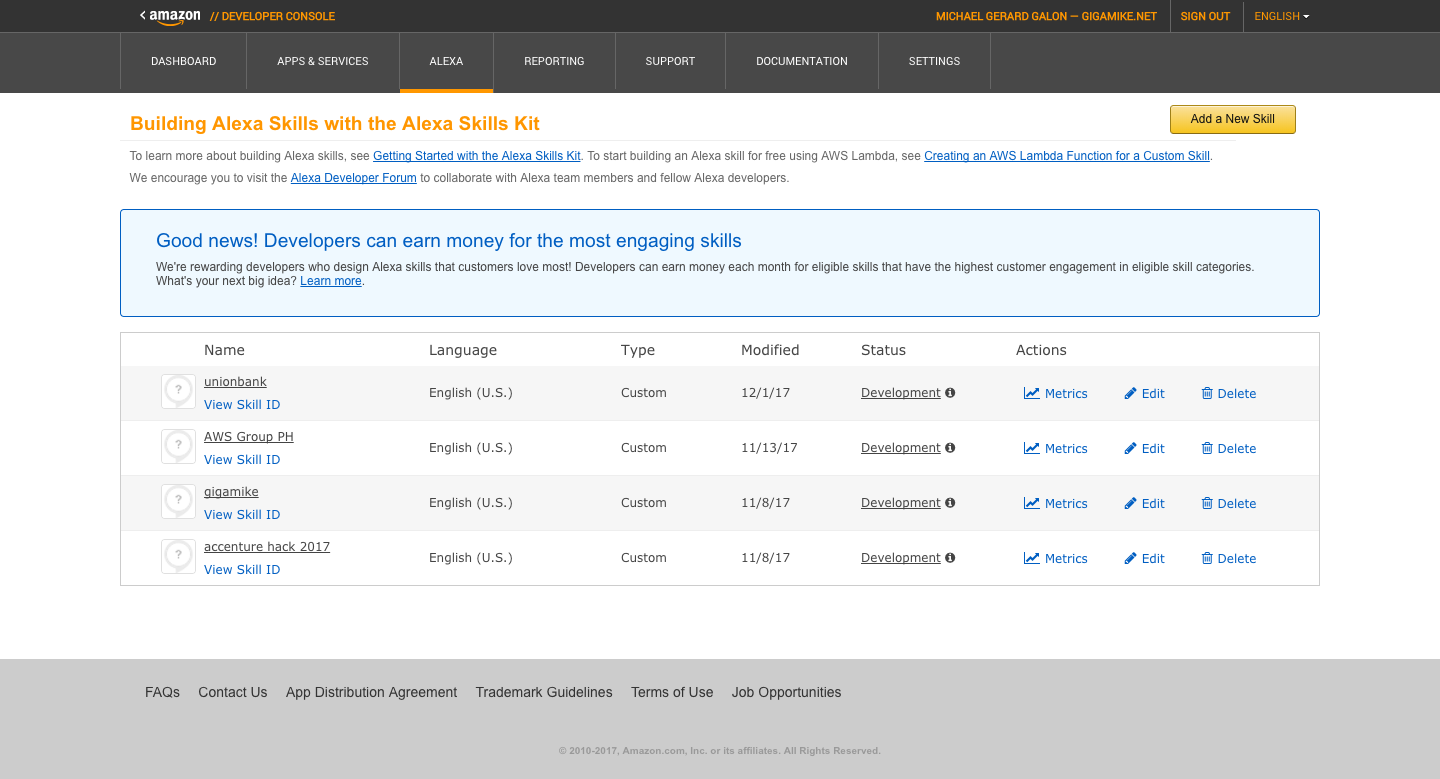
Sign in on your Amazon Developer Account, select Amazon Alexa then go to Your Alexa Dashboards the click Alexa Skills Kit Get Started. Hopefully you are on this page ready to Add a New Skill.
Click Add a New Skill. First step is the Skill Information. Fill the Name and Invocation Name. In my case I name the skill as “AlexaChamp.com Hello World”. For Invocation Name I used “gigamike”. Invocation Name is the name of your Alexa Skills app to launch. Example
Alexa…use gigamike…
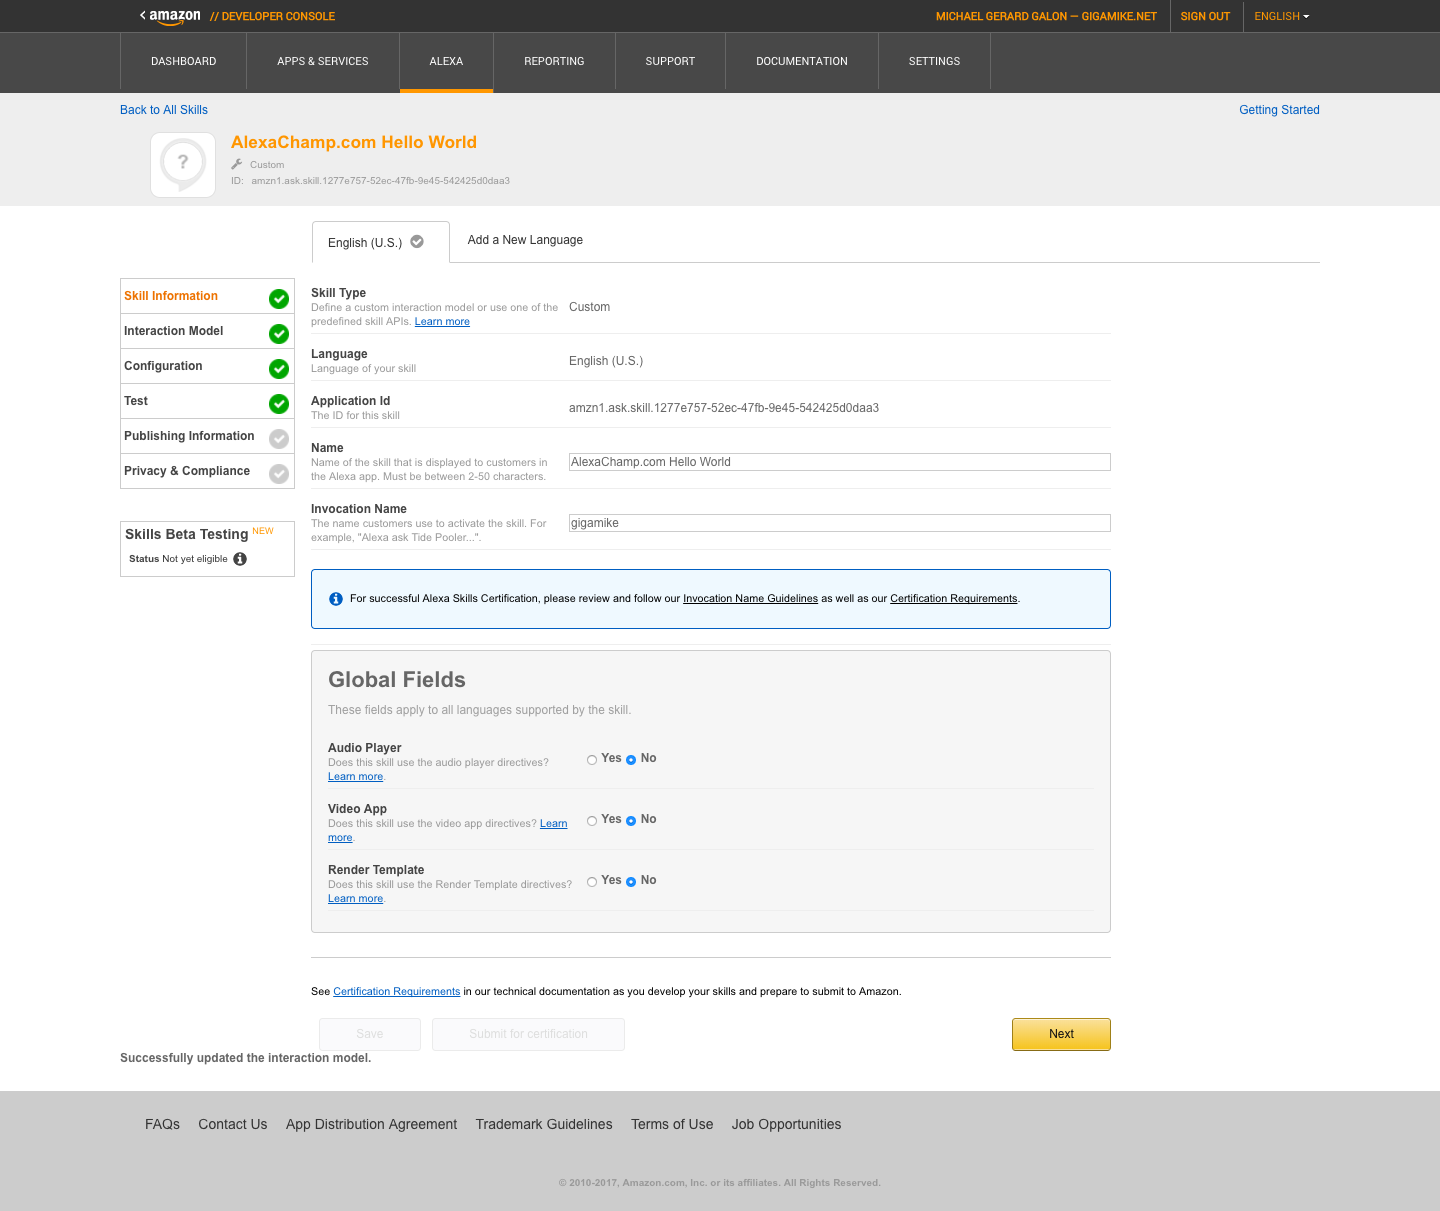
The rest of fields on Skill Information just let the default values then Save. Click next. Second step is the Interaction Model. This is where we define the voice interface.
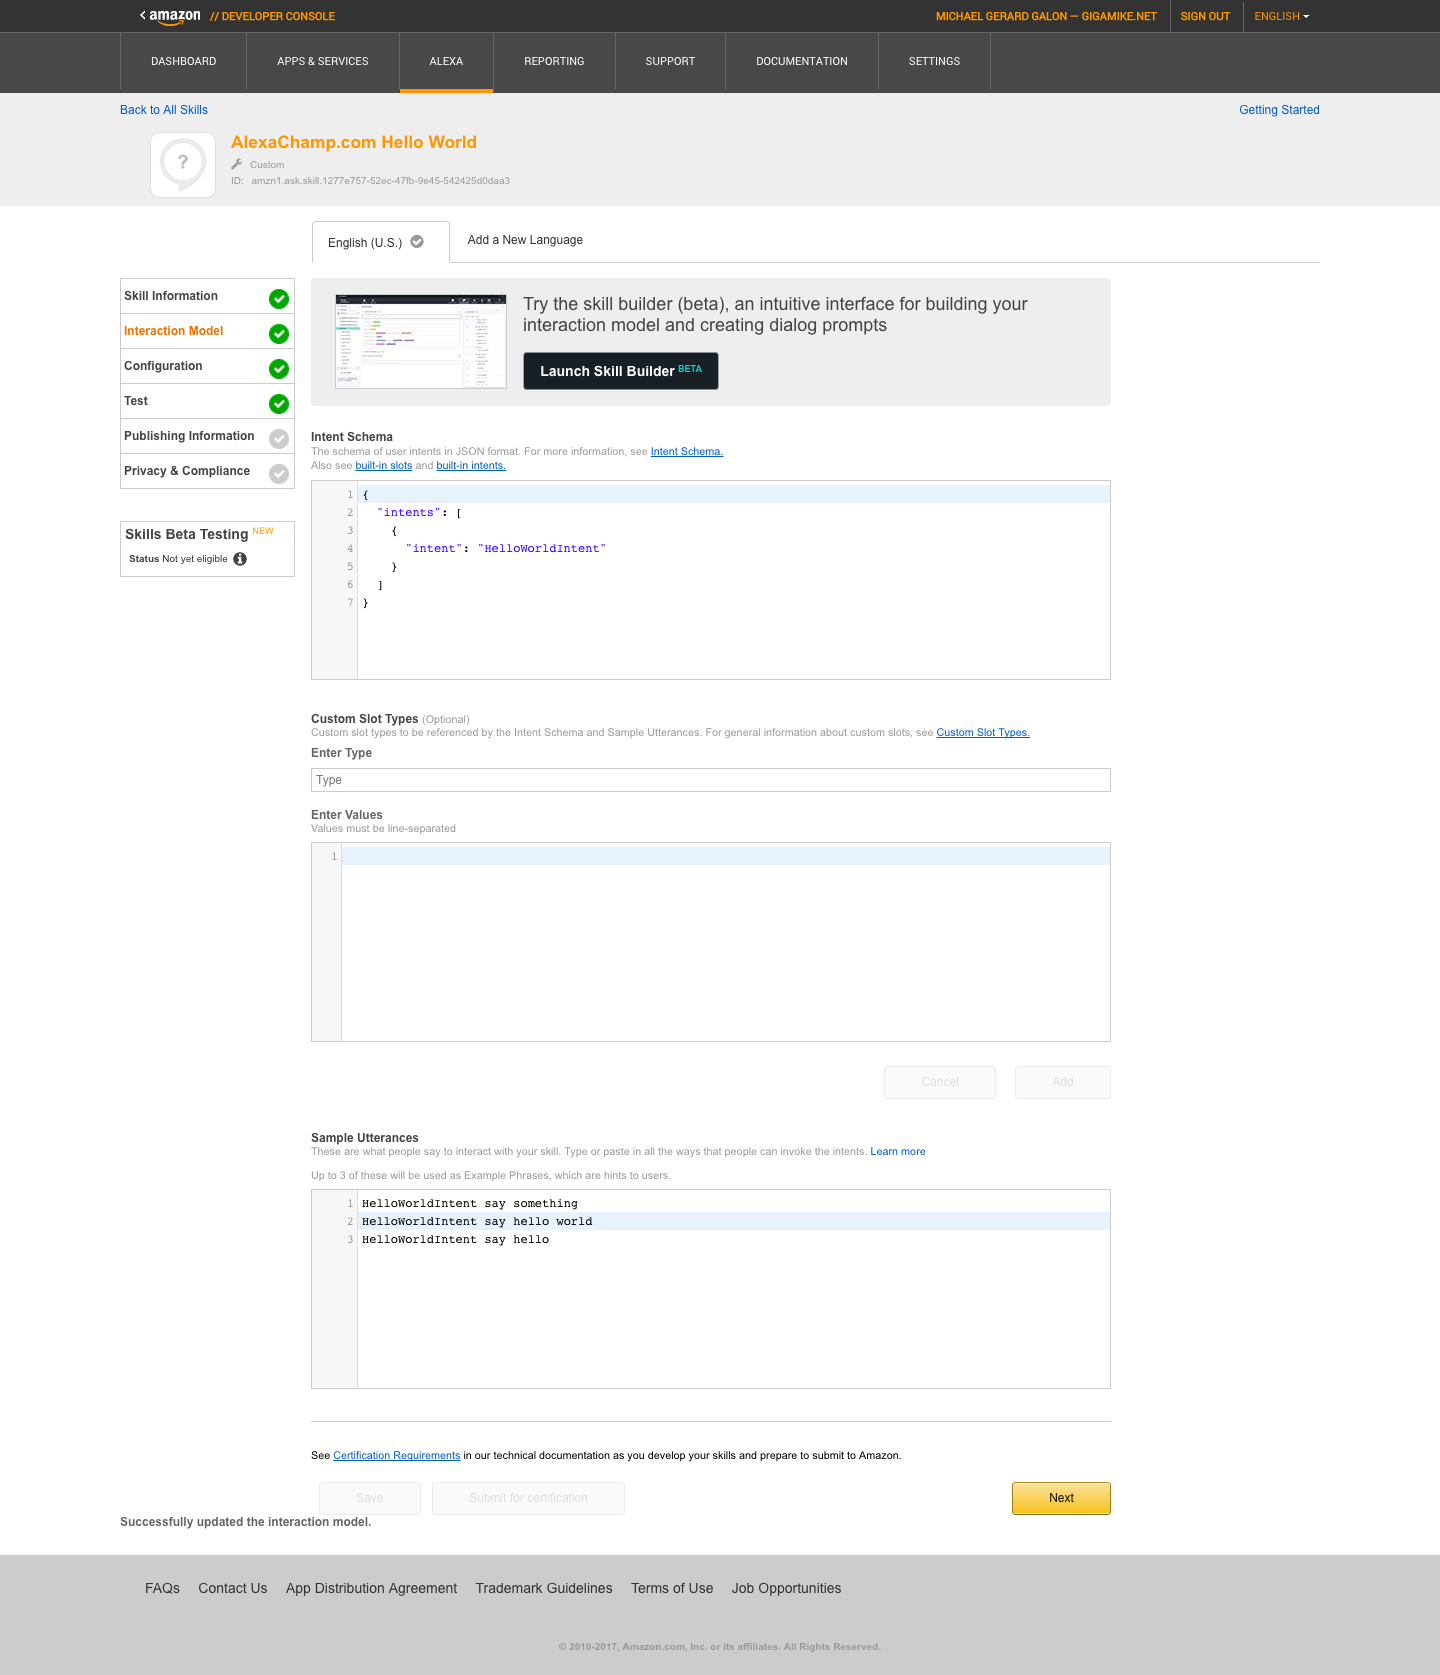
In the Intent Schema it requires a JSON format. In this section we define what intent to be triggered later on in our Lamda script.
{
  "intents": [
    {
      "intent": "HelloWorldIntent"
    }
  ]
}
For our utterance, I defined 3 strings to trigger our intent “HelloWorldIntent”.
HelloWorldIntent say something
HelloWorldIntent say hello world
HelloWorldIntent say hello
So example.
Alexa…use gigamike…say something
Click save then next. On the third step “Configuration”, we will now define on what “script” to be triggered.
We will be setting up a web server with a HTTPS endpoint. There is a lot of web server i.e. Apache+PHP, IIS+asp and so on. I’m a PHP developer so ill be setting up Apache+PHP on an Ubuntu server. So ready your PHP editor and login to your Amazon Web Services Account. We need also a domain, if you don’t have a domain, you can buy on Amazon Web Services Account then search Route53 then Domain registration then Register Domain. For me I feel expensive if we will buy on Amazon just for this test. You can buy cheaper domain at Namecheap starting at $0.88. As of writing available tld for Namecheap are as follows .site, .website, .space, .pw, .press, .host, .tech, .online, and .fun. In my case I have a spare domain top10ph.com.
So let us now setup a web server. In your Amazon Web Services Account search for EC2.
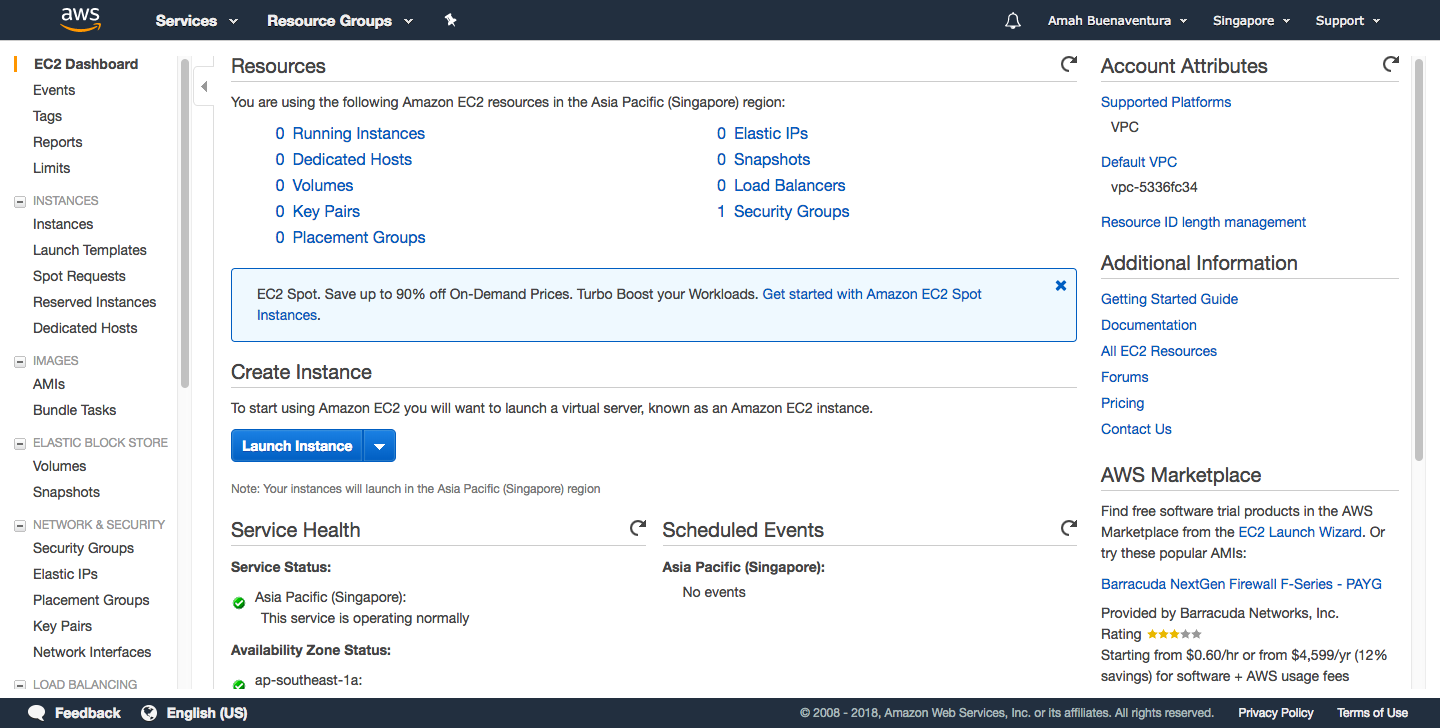
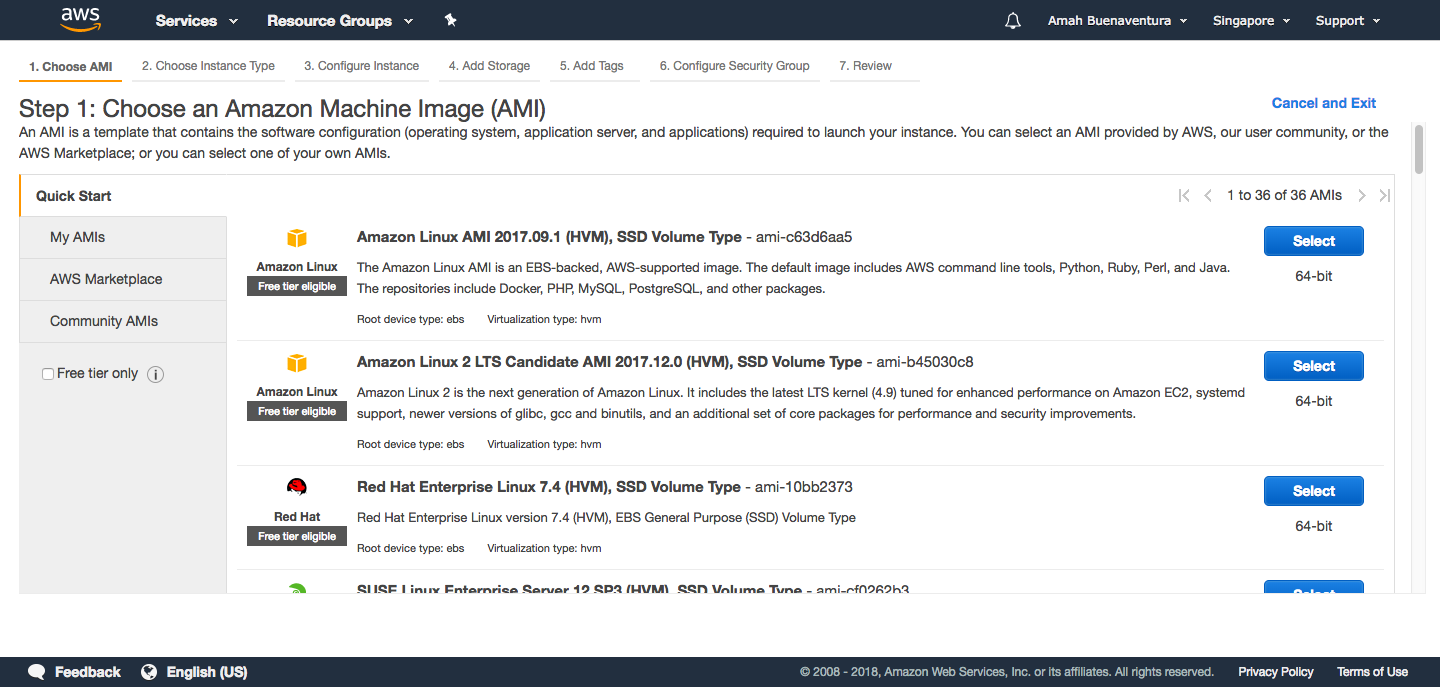
Click Launch Instance. First step for creating an Instance is selecting an Amazon Machine Image (AMI) or Operating System. Let’s select Amazon Linux AMI.
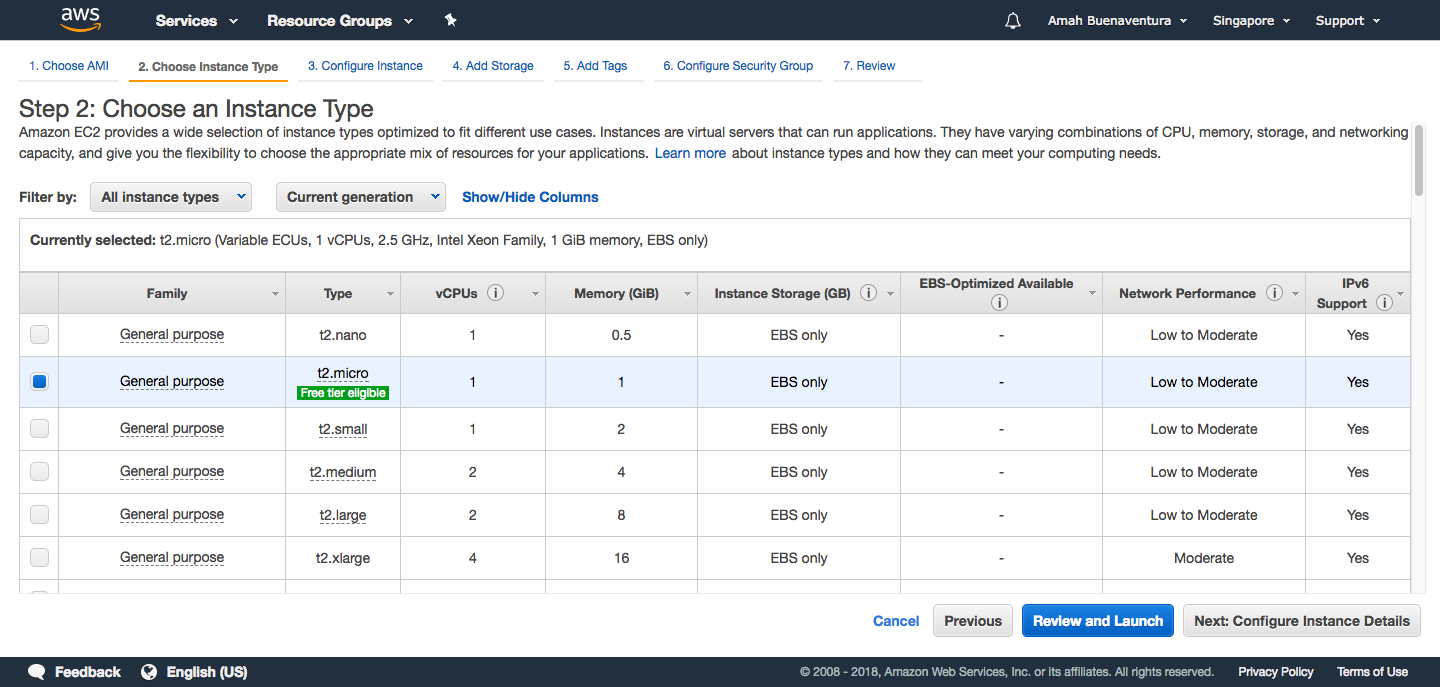
Next is the Instance Type or the specification of the Instance. Choose t2.micro Free tier eligible so its free and this is just a test.
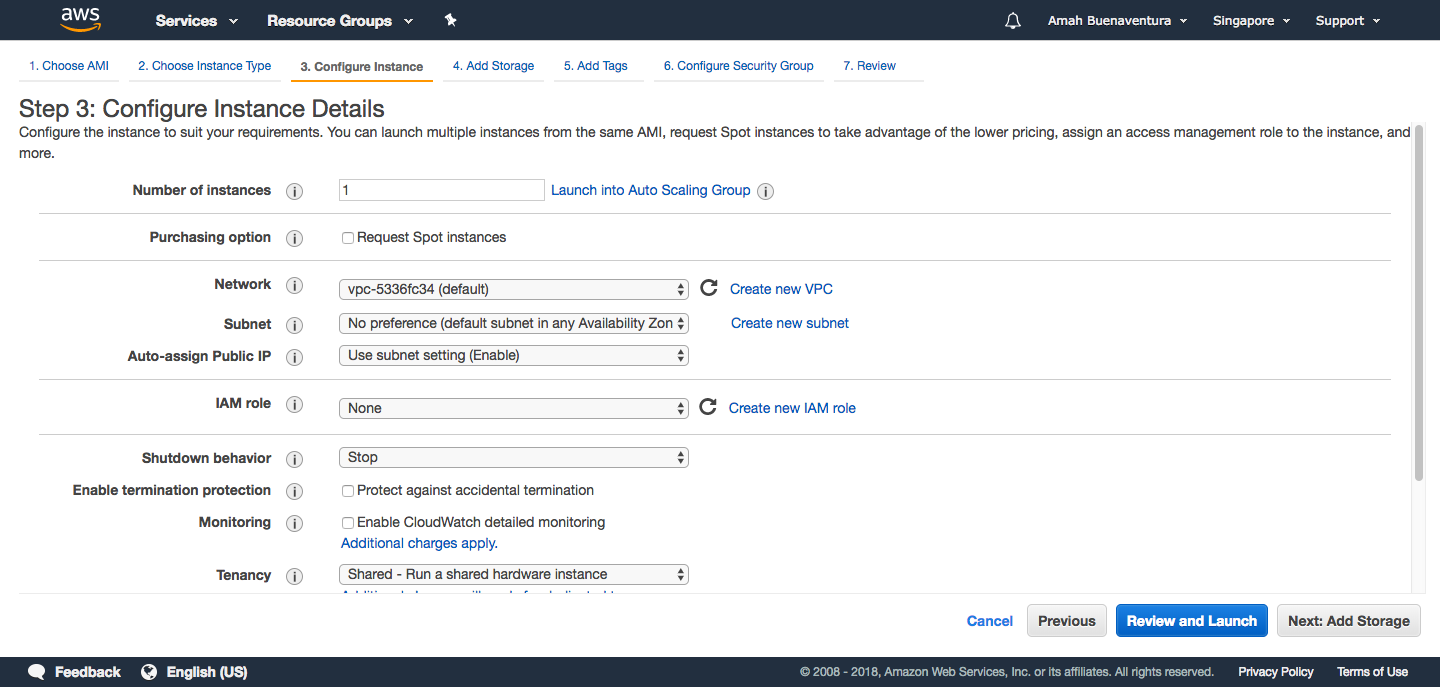
Click Next: Configure Instance Details. For Configure Instance Details just let the default values.
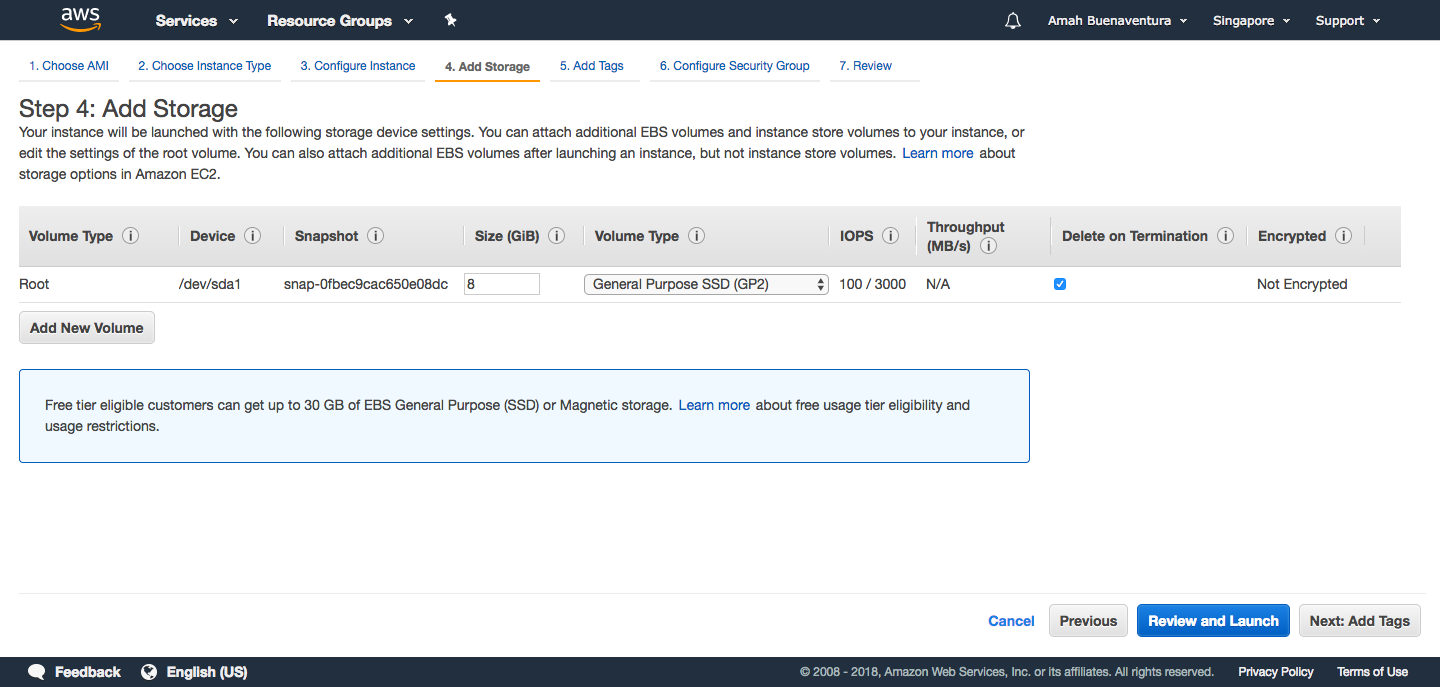
Click Next: Add Storage. We don’t need too big disk space or storage. Just let the default.
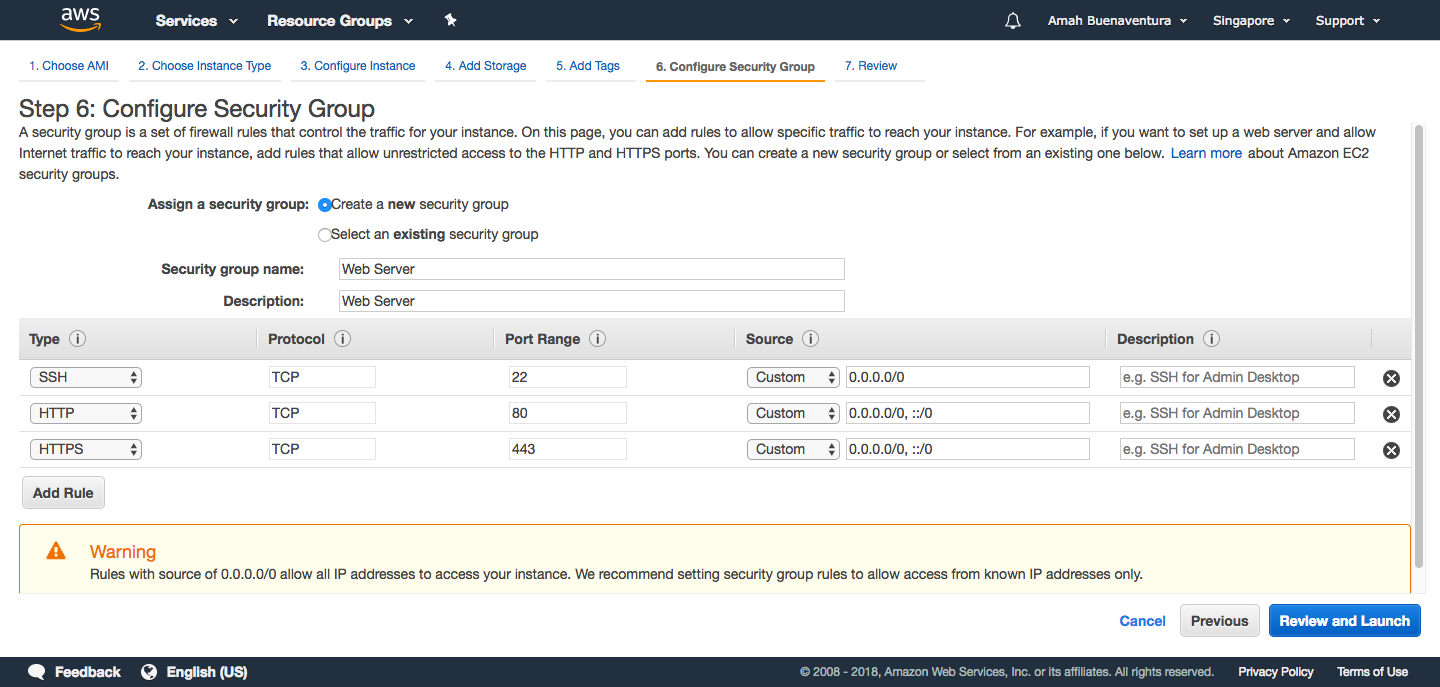
Click Next: Add Tags. If you have several servers enter a Tag on this Instance for your bill purposes, if not just click Next: Configure Security Group. We need to create a new security group. Since we are setting up a web server and Alexa requires an HTTPS endpoint, we need to open port HTTP and HTTPS.
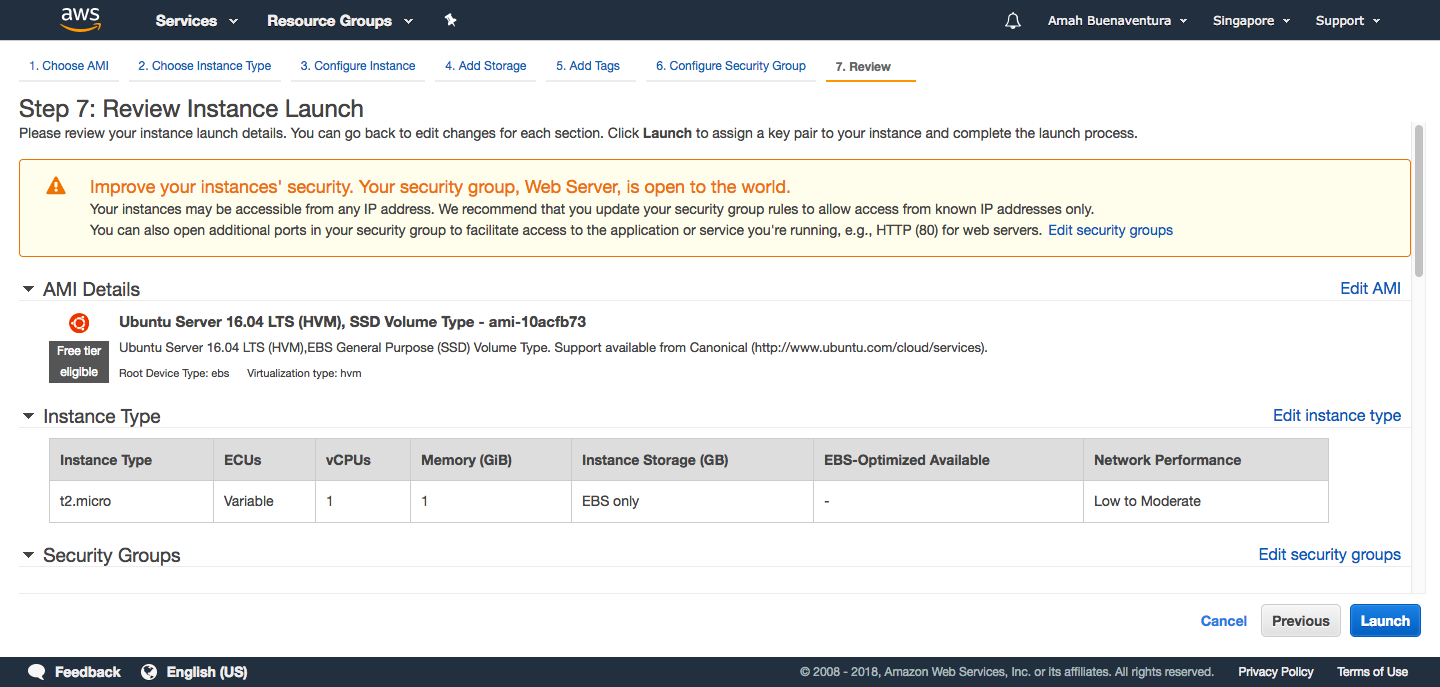
Click Review and Launch.
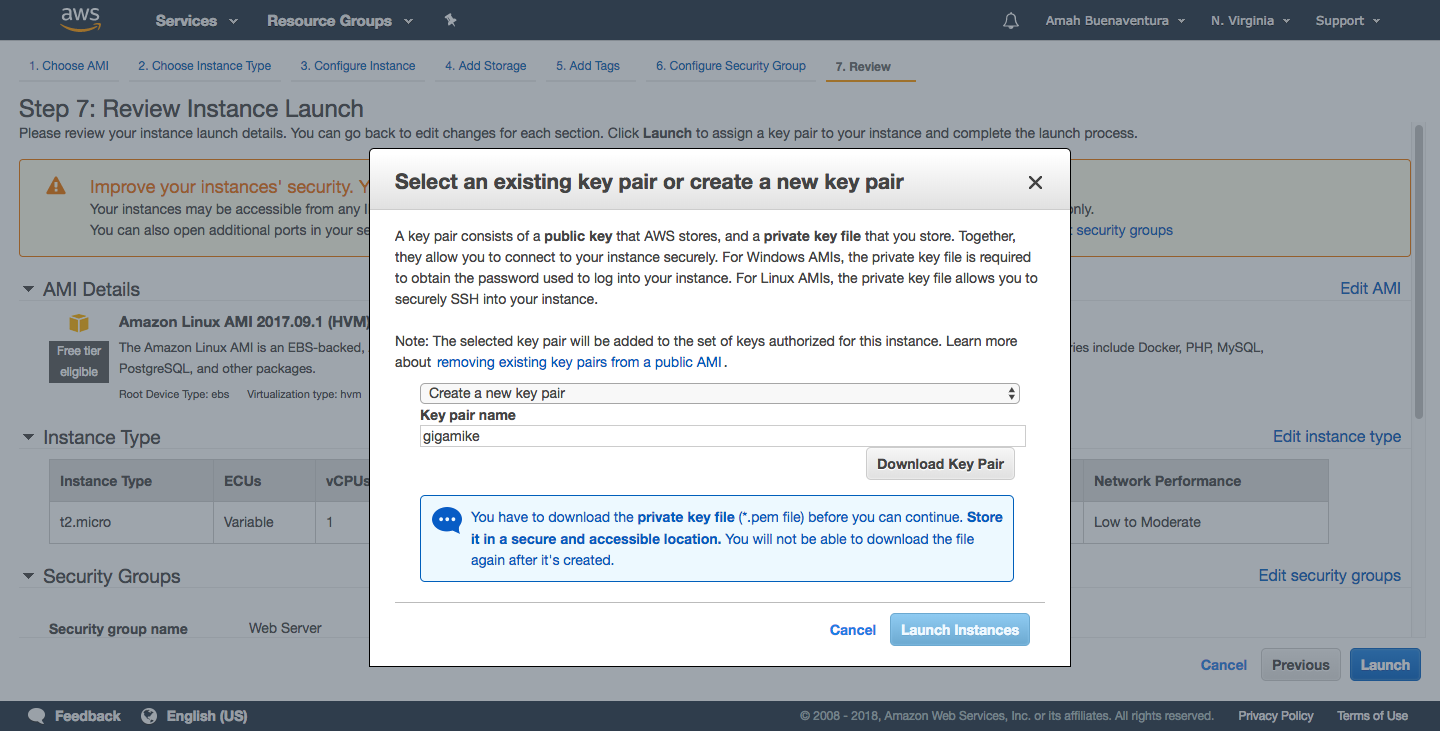
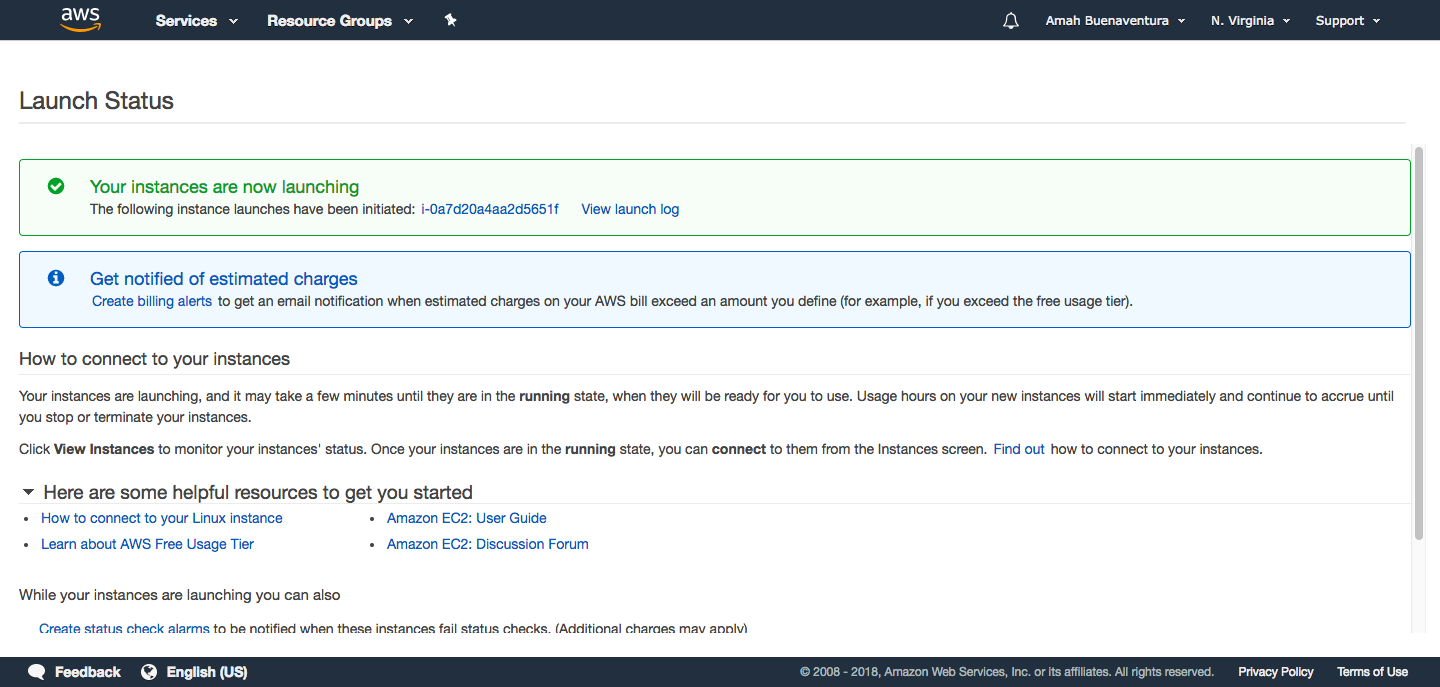
After clicking Launch Instances it will ask you to create a key pair. You will use this key pair to access your instance. Make sure to download and keep the key pair in secure place.
At this stage the Instance will start to launch.
Let’s start accessing our EC2 instance. Go to EC2 main dashboard and you will see your created instance. Select the instance and click connect.
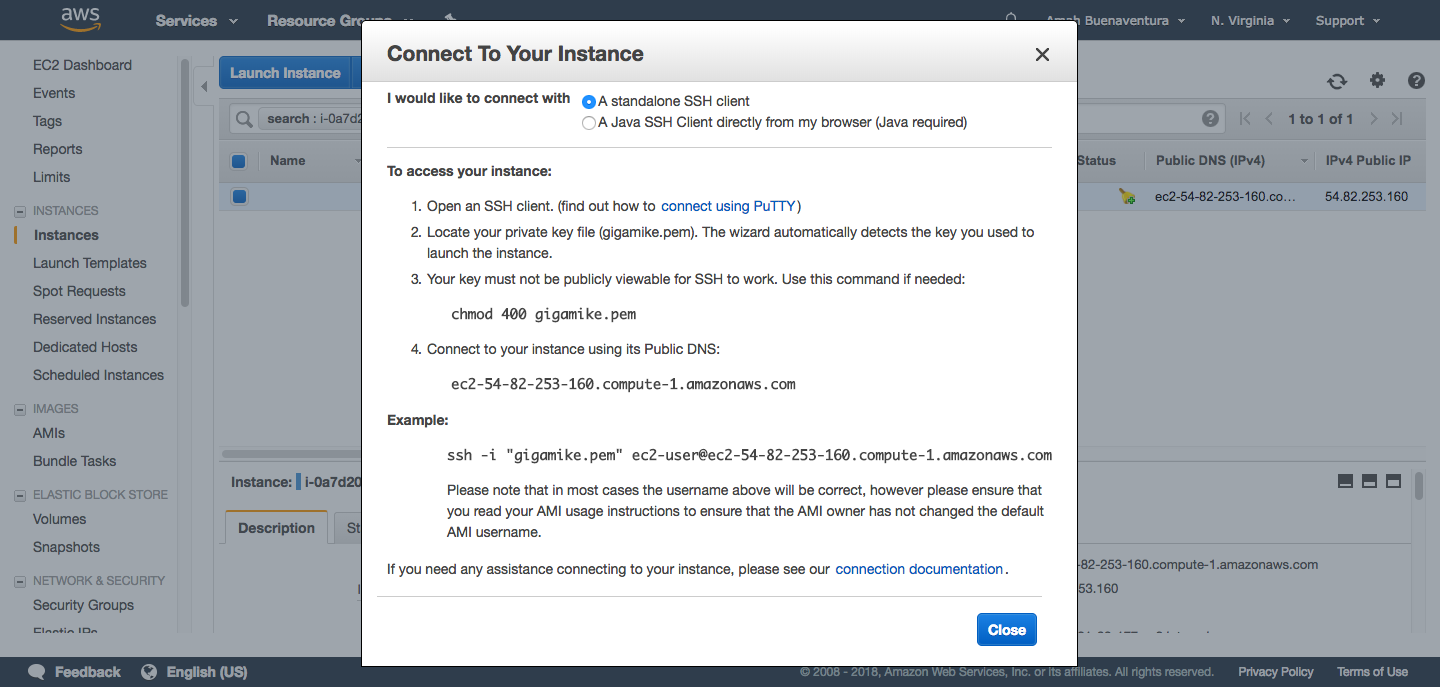
So just go to your directory where you saved the key pair, in my end I saved it as gigamike.pem. We need to execute first chmod to change permission for security purposes and changing the gigamike.pem and access via SSH.
chmod 400 gigamike.pem
ssh -i "gigamike.pem" [email protected]
So next we will install Apache and PHP to make it as a web server. You can follow this tutorial for more details “Tutorial: Install a LAMP Web Server with the Amazon Linux AMI“. So let’s execute this commands
sudo yum update -y
sudo yum install -y httpd24 php70
sudo yum install -y mod24_ssl
sudo service httpd start
sudo chkconfig httpd on
sudo usermod -a -G apache ec2-user
exit
sudo chown -R ec2-user:apache /var/www
sudo chmod 2775 /var/www
find /var/www -type d -exec sudo chmod 2775 {} \;
find /var/www -type f -exec sudo chmod 0664 {} \;
So what we did was we update the Operating System, we install Apache and PHP. We started Apache to run and set as a service. We added your user on apache group and adjust the public directory permission and ownership so we can write some scripts later on. Go back to your EC2 dashboard to get your Public DNS (IPv4) and open it on your browser.
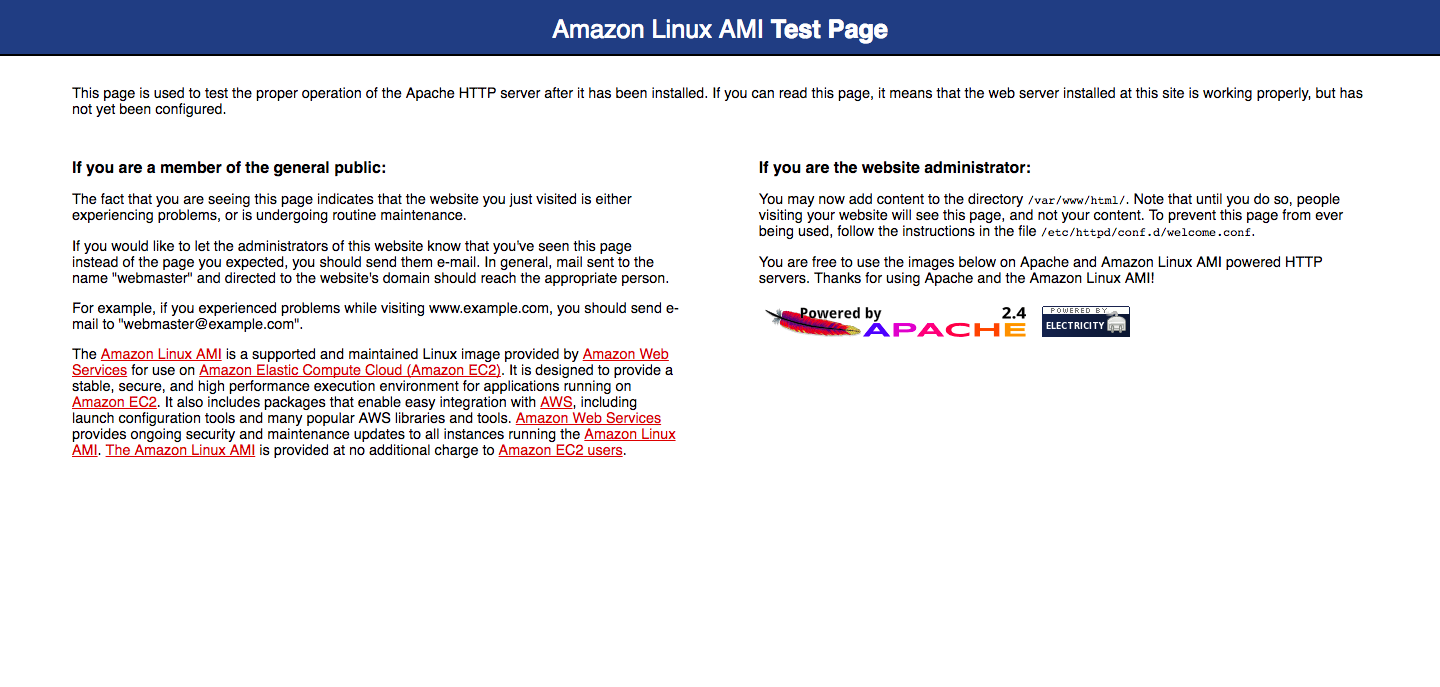
If you can see the Apache Test Page then you successfully setup a web server. Next is we need to assign a domain with a HTTPS. Registering a domain is not free, you can buy cheaper domains on Namecheap.com. I have a spare domain under registrar Namecheap.com top10ph.com and ill be using it. But before that we need to setup or point our created Instance to our DNS. So in your Amazon Web Services Account service search for Route 53. Select DNS management.
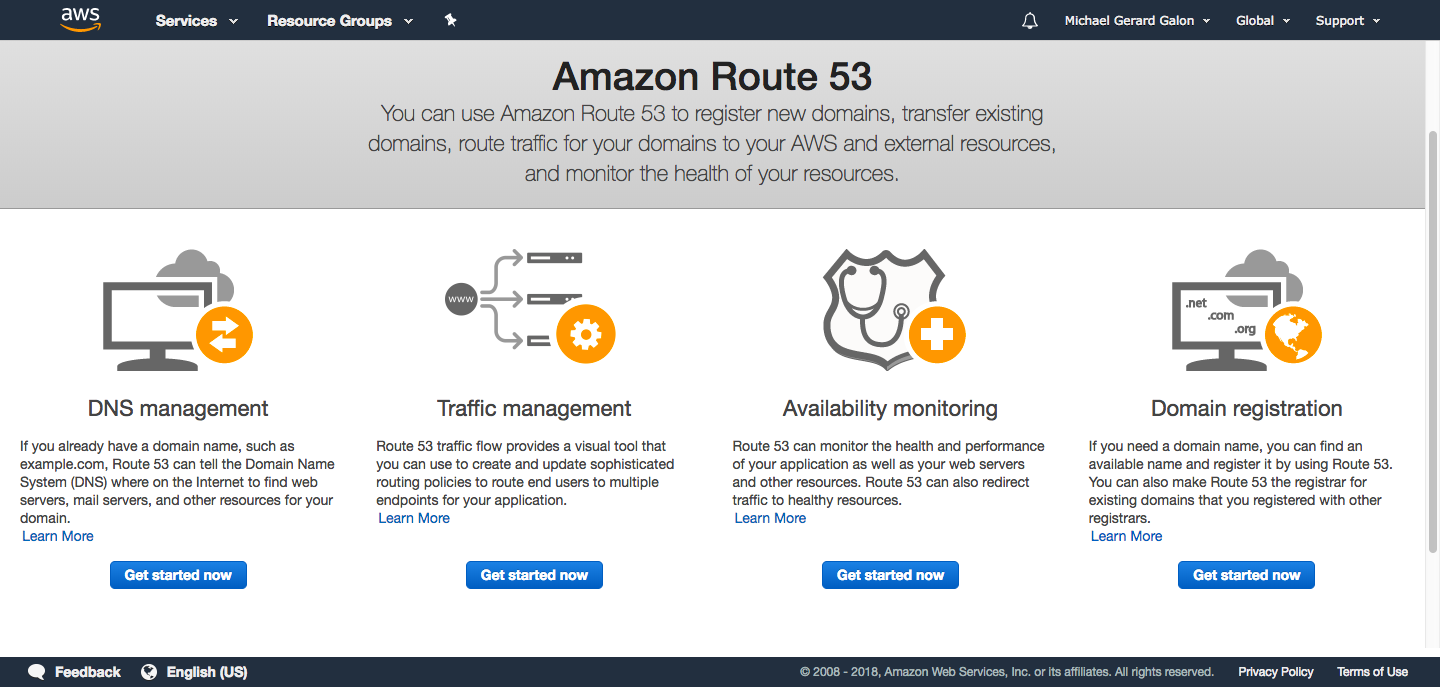
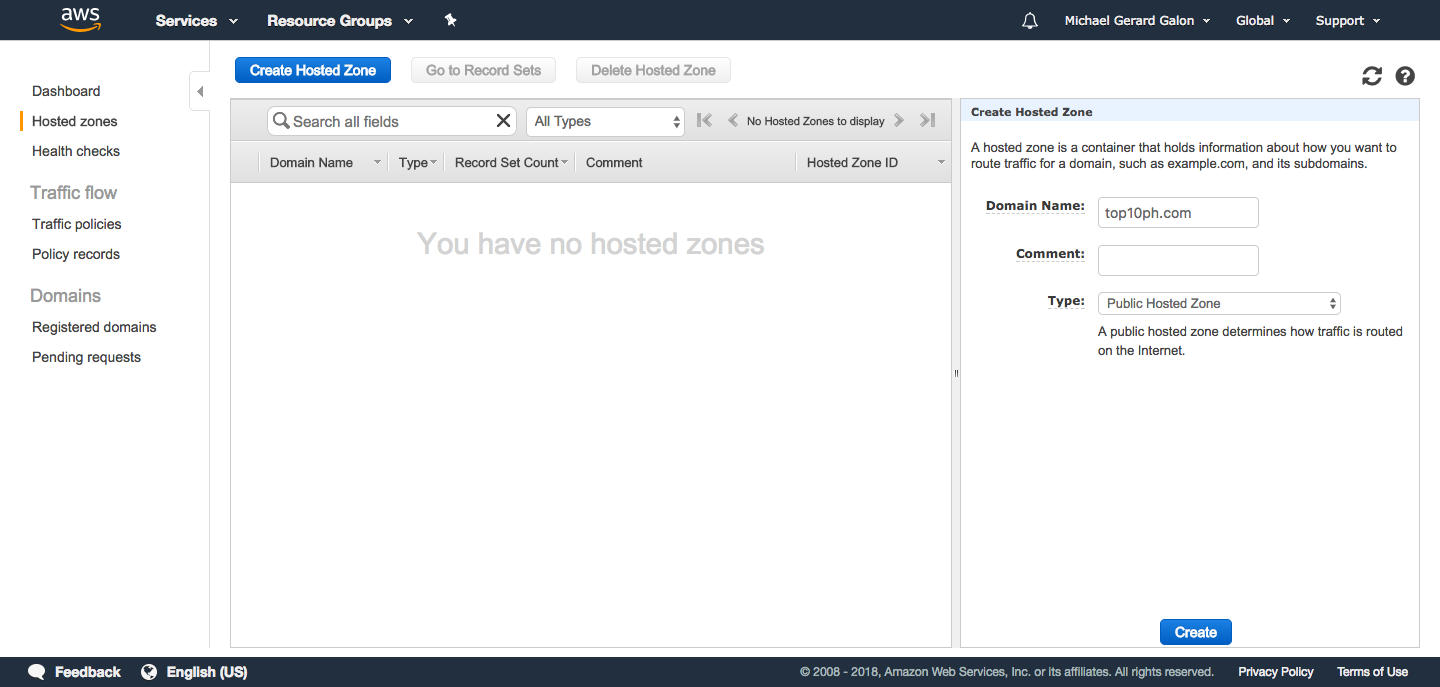
Click Create Hosted Zone then add your domain name.
I also added the Public IP of our EC2 Instance as A record for non www and with www.
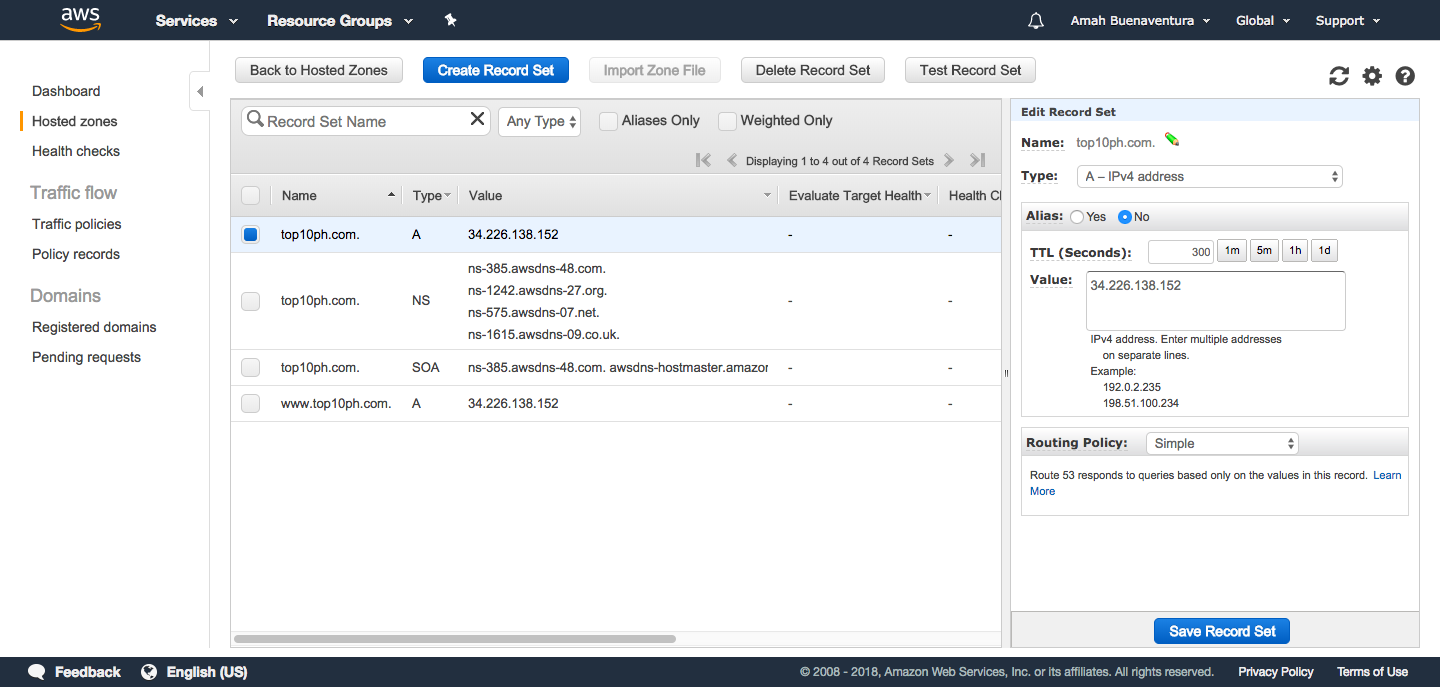
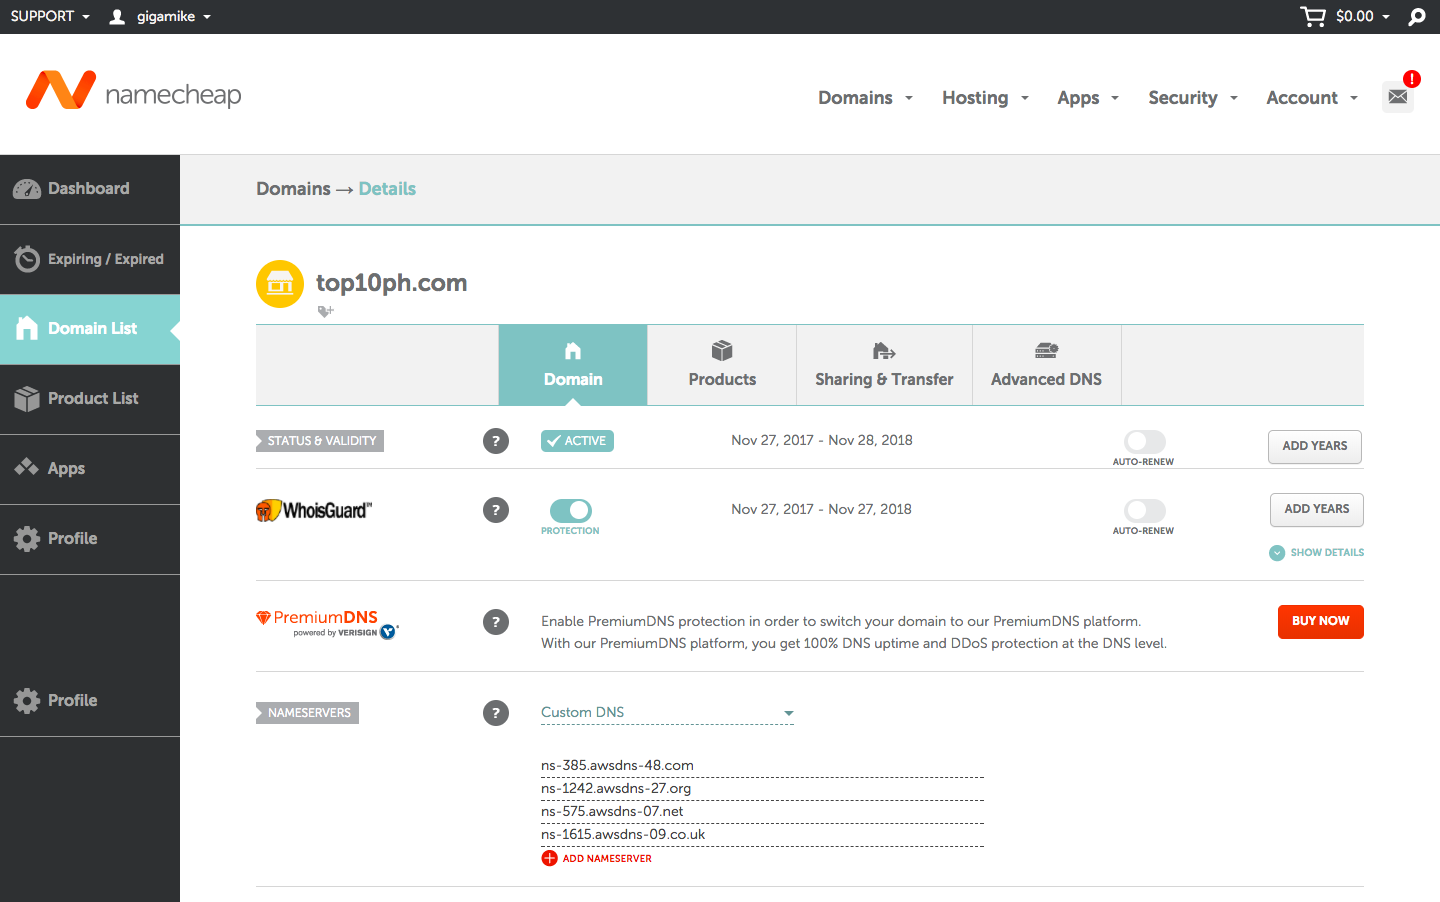
Copy the NS Value to your Namecheap.com current domain Nameserver.
It may take 24 hours to propagate depending in your location. While propagating let’s setup our Apache. Let’s go back to our EC2 instance. SSH access to your EC2 Instance.
cd /var/www/
mkdir top10ph.com
cd top10ph.com/
mkdir public_html
sudo chown -R $USER:$USER /var/www/top10ph.com/public_html
sudo chmod -R 755 /var/www/top10ph.com/public_html
echo "Hello World" > /var/www/top10ph.com/public_html/index.php
sudo mkdir /etc/httpd/sites-available
sudo mkdir /etc/httpd/sites-enabled
sudo vi /etc/httpd/conf/httpd.conf
Add this line at the end of /etc/httpd/conf/httpd.conf
IncludeOptional sites-enabled/*.conf
sudo vi /etc/httpd/sites-available/top10ph.com.conf
Enter your domain virtual host
<VirtualHost *:80>
    ServerName www.top10ph.com
    ServerAlias top10ph.com
    DocumentRoot /var/www/top10ph.com/public_html
    ErrorLog /var/www/top10ph.com/error.log
    CustomLog /var/www/top10ph.com/requests.log combined
</VirtualHost>
sudo ln -s /etc/httpd/sites-available/top10ph.com.conf /etc/httpd/sites-enabled/top10ph.com.conf
sudo apachectl restart
Then open your browser and enter your domain. You should see the”Hello World”. So what we did on those line is we created a virtual host for our domain and setup an index.php. Now next step is the HTTPS or the SSL. You can buy SSL on Namecheap.com or you can use a free. We will be using free from Certbot. So let’s go back to our EC2 instance SSH and install Certbot. You can follow this “Appendix: Let’s Encrypt with Certbot on Amazon Linux“.
sudo yum-config-manager --enable epel
sudo wget https://dl.eff.org/certbot-auto
sudo chmod a+x certbot-auto
sudo ./certbot-auto --debug
If everything works fine, we can now visit with HTTPS/SSL i.e. https://www.top10ph.com/ or https://top10ph.com/. Let’s now set up our PHP Alexa Skills. We will be using an existing PHP Alexa Skills “Alexa-PHP-Endpoint” by MayBeTall.
cd /var/www/top10.ph/public_html
sudo yum install git -y
git clone https://github.com/MayBeTall/Alexa-PHP-Endpoint.git
Then let’s create a new file helloworld.php under /var/www/top10ph.com/public_html directory.
vi helloworld.php
Let’s insert this code
<?php
// Include the library
require __DIR__ . '/Alexa-PHP-Endpoint/alexa-endpoint/autoload.php';

// Import classes
use MayBeTall\Alexa\Endpoint\Alexa;
use MayBeTall\Alexa\Endpoint\User;

// Sets everything up.
Alexa::init();

// User launched the skill (Alexa launch Hello World).
Alexa::enters(function() {
    // Say something and close the app
    Alexa::say('Hello world!');
});

// User triggered the 'HelloWorldIntent' intent from the Skill Builder
User::triggered('HelloWorldIntent', function() {
    // Say something and close the app
    Alexa::say('Hello world from AlexaChamp.com!');
});

// User exited the skill.
Alexa::exits(function() {
    /**
     * Alexa will not say anything you send in reply, but it is important
     * to have this here because she will give an error message if we
     * don't acknowledge the skill's exit.
     */
});
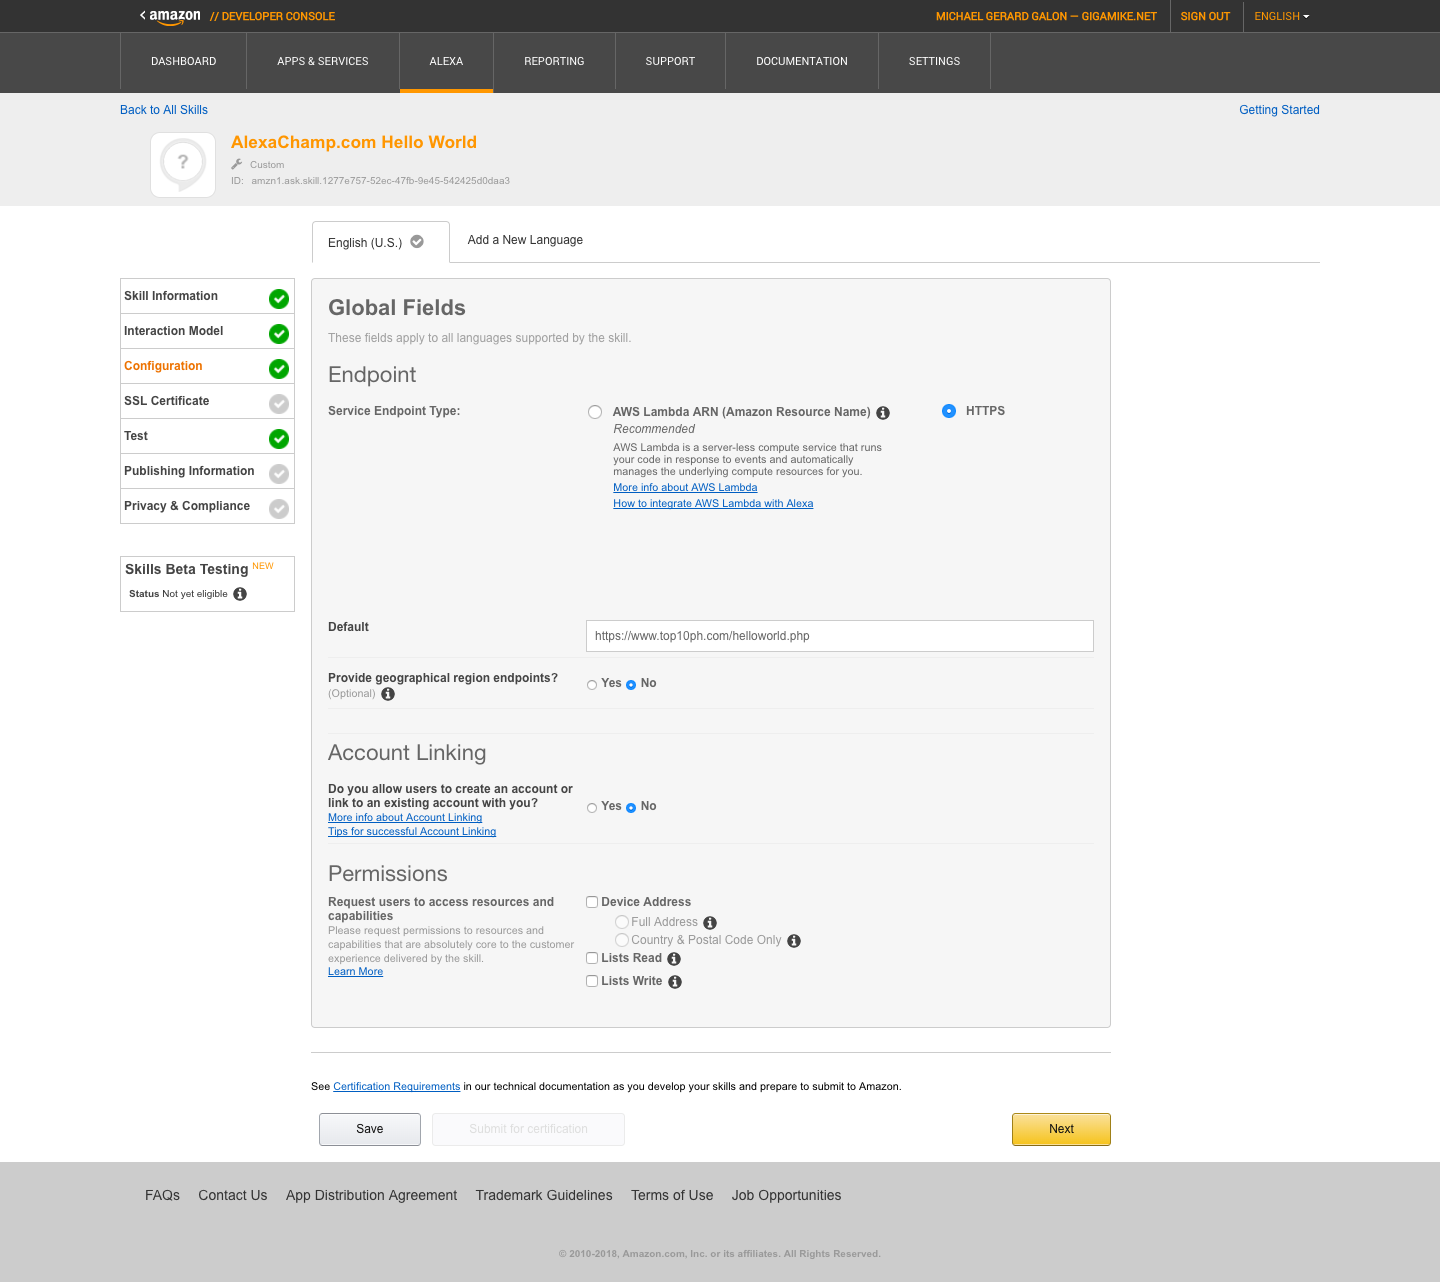
Then save your file. Let’s go back to Amazon Alexa dashboard configuration where we left previously. Let’s set the Endpoint as HTTPS and set the Default Endpoint https://www.top10ph.com/helloworld.php. Click save and next.
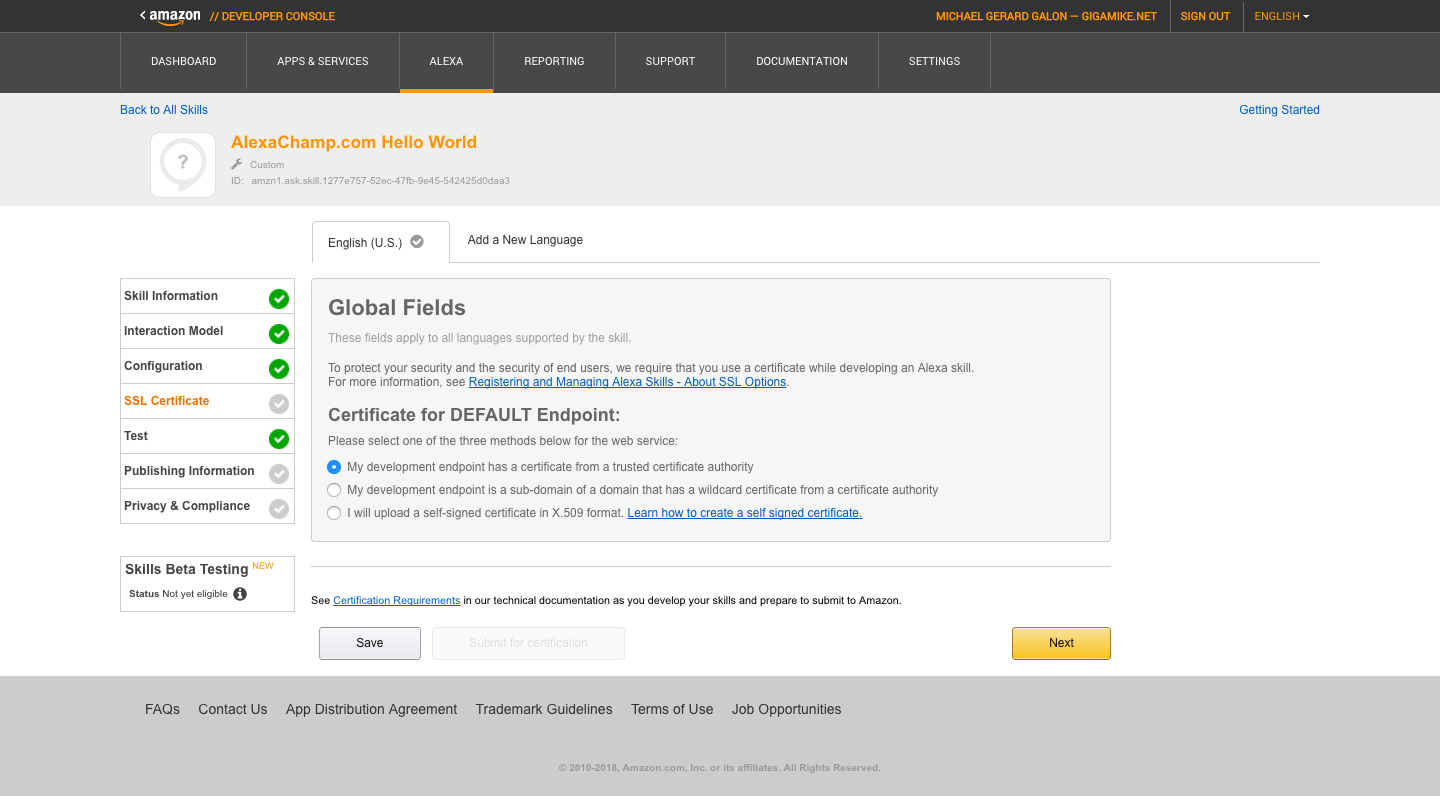
Next step is for SSL Certificate. Select “My development endpoint has a certificate from a trusted certificate authority” as Certificate for DEFAULT Endpoint.
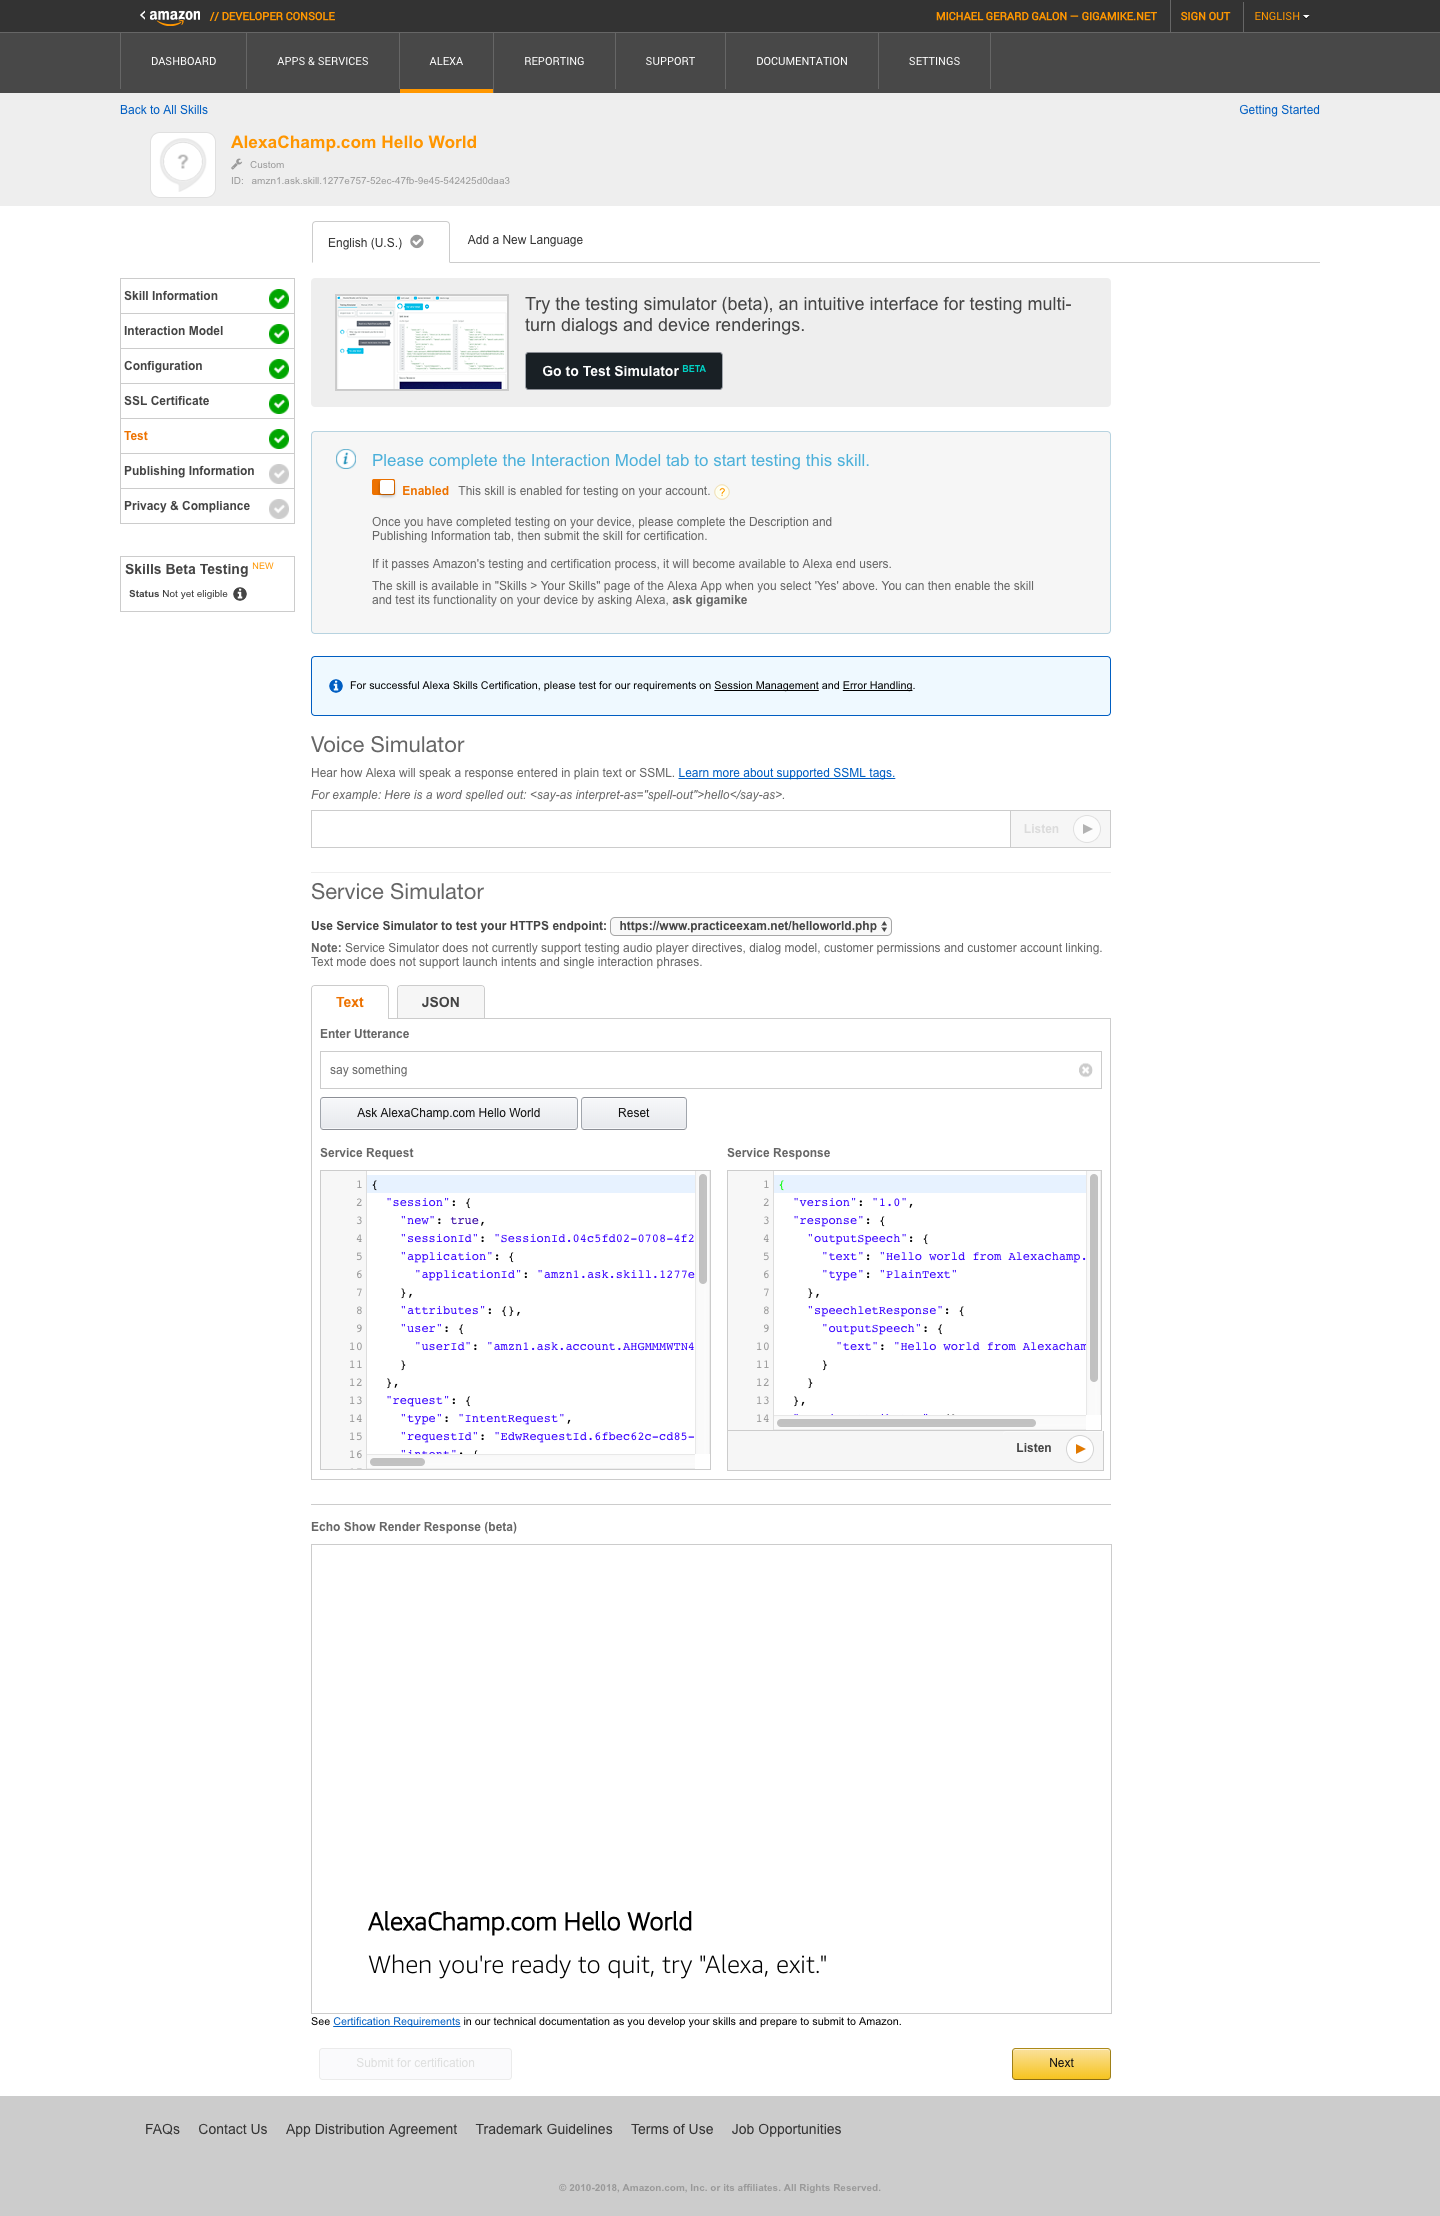
So we are now on step 4 in Alexa Skills kit which is the Test. Go to Service Simulator and enter our defined utterance. If everything is ok it will return a JSON with an outputSpeech Hello World From AlexaChamp.com!
Next step is the Publishing Information and Privacy & Compliance. Since this is just a test of a Hello World let’s ignore that for the moment. Let’s try it now to our Alexa Device. Make sure in your Amazon Alexa Account where you sync your Alexa device has the same email on your Amazon Developer Account in order for you to test on actual device.
Congratulation if you reach here. I know you have a lot’s of question why I did that, what is that etc. Again as much as possible I want to make this blog short and keep you on running your first Alexa Skills App using HTTPS endpoint. Ill be creating a separate blog for more details about this Alexa Skills Kit. Have a nice day 🙂
Al says:
I had this working before – but I tried to create a new HTTPS skilll using the same steps, but now when I try to directly access the helloworld.php page, it just says “Application not authorized”
The Alexa skill is also unable to reach this helloworld.php page – any pointers?